History: There were two boards that were pulled off the wall which we were able to cut up and get six total game boards out of. The edges of the board had some water damage and some was just plain so old it was falling apart. The CENTER of these boards were salvageable so we took them outside, turned on the old skill saw, and cut them to our specs. The wood is now cut in to boards and the wood actually looks FANTASTIC!
 |
| Picture of AT&T Board 2 PRIOR to glue being made and any sanding is done. |
This second AT&T board is our second POPBox Hockey board that is being sold.! The back of the original board is going to be the game surface and therefore the glue, which was more than AT&T board #1, had to be completely removed. After round one of sanding the game surface is SUPER smooth, the glue is gone but there are two 1/8" screw holes that will be along the goal walls. These holes will be left in the game board. They will not affect game play as they are so close to the wall AND we really believe 30 year old character like this is important to maintain in each board!
 |
| Picture 1 of the AT&T Board 2 game surface AFTER the glue was removed |
Pictures will be posted here as the second for sale POPBox Hockey board made from the AT&T boards build moves along so that you can see what is done to make these boards! Eventually this board will receive its serial number and the title will change but for now it is titled as is
 |
| Picture 2 of the AT&T Board2 after glue and removed and awaiting the second round of sanding (using finer grit) |
Got the side boards and goal end boards picked for AT&T Board 2. Got them measured and cut to fit, the middle board isn't measured and cut until the board is squared up with corner clamps. The middle board becomes a REAL headache for assembly if its to long or to short.
 |
| Boards picked for AT&T Board 2! |
 |
| We always LOVE this step, fit up makes it look like something! |
Day 3:
We squared up the boards and determined if they need to be trimmed. This board had one 1/8 inch trim on one of the long boards AND we had to cut a one of the goal boards completely new! The old one was cupped beyond use! The goals are cut and the middle board is measured, cut and fitted. Once its fitted the middle slots are cut. Finally we cut the corner banks and the goalies are now cut.
 |
| All the pieces except the goalies are present and accounted for, ON TO SANDING! |
Day 4:
We did a TON of sanding sanding sanding! Then we did a final dry fit up. This board lined up really nicely! We should only need to straighten, a little, one of the long side boards.
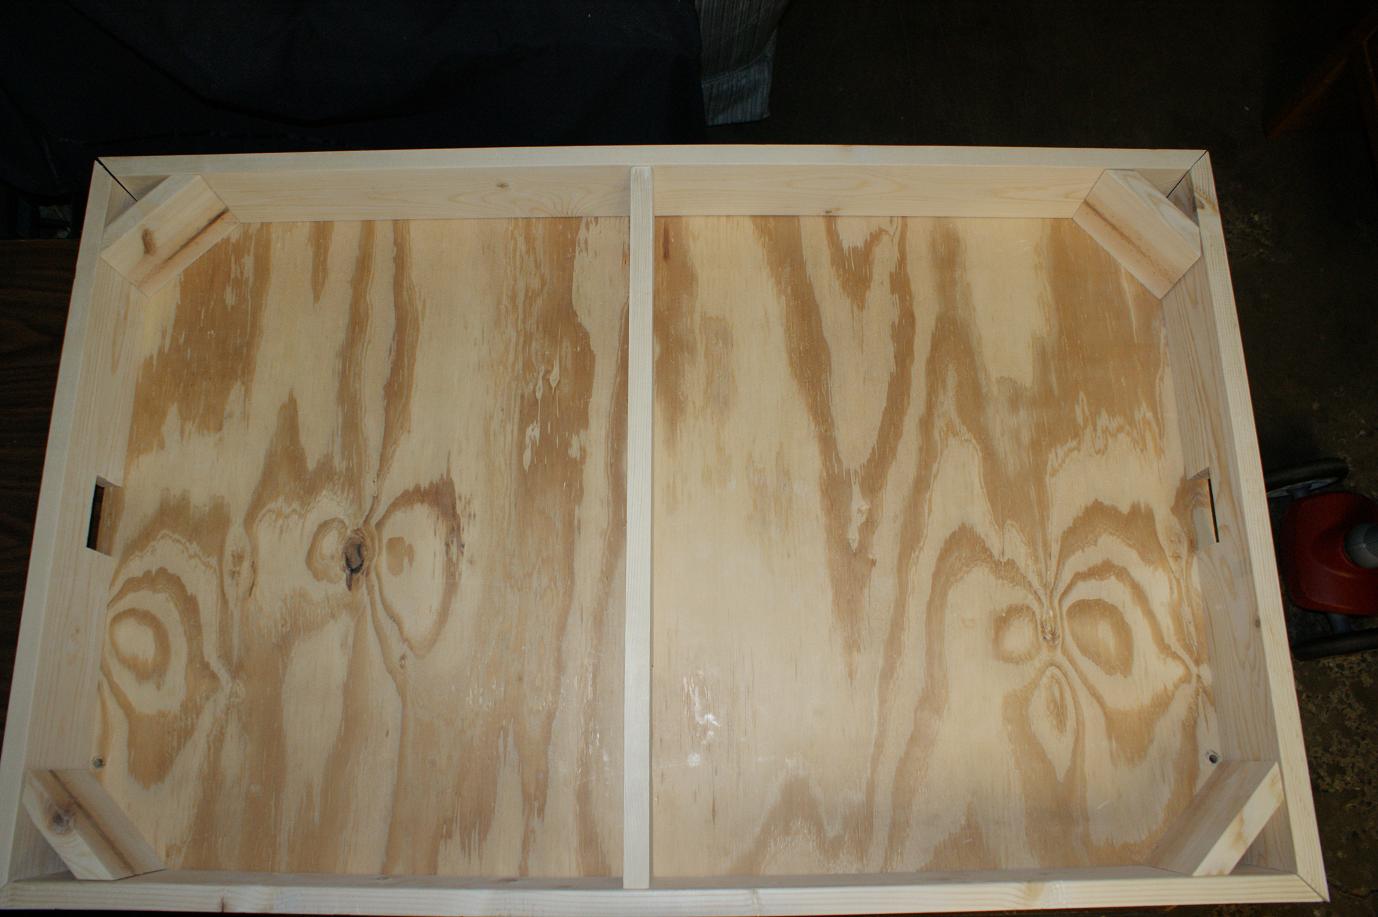 |
| Good looking Dry Fit! |
We decided to try a new stain on this board. We bought "Pickled White Oak" with the intention of making the playing surface more white like hockey ice. After first application we stepped back and had initial thoughts of, well flat out, YUK! :) However, after the second coat of polyurethane it started looking really sharp!! It has made its way in to a solid option!
This boards construction went really well. No modifications were needed upon gluing and screwing the boards together. We did put 6 "screws" in to attach the four corners and in to the mid ice board to attach it to the sides AND WHAT A DIFFERENCE! We have always, to date, used finishing nails and were struggling with obtaining a tight, straight fit using the finishing nails. We would always get there during construction but it often to a little clamp work to get it done. Using the screws, the boards sucked in real tight and real straight! This process is now the new "norm" and we do still use finishing nails to secure the corner boards to the walls (they are also screwed in to the playing surface).
All in all this board came out fantastic!! It really makes us ecstatic here at POPBox Hockey to see scrap 1x4's and 25+ year old plywood become a game that will hopefully be used, enjoyed, cause a little blood...just a little :) , and make people smile and have fun for another 25+ years!
Thanks to "Beth" for asking us to build this one for her for helping us to get the next donation board (POPBox Hockey Donation full sized board #2) paid for. It should be delivered in July.
Thanks again Beth!!
PICS of the final product:


No comments:
Post a Comment